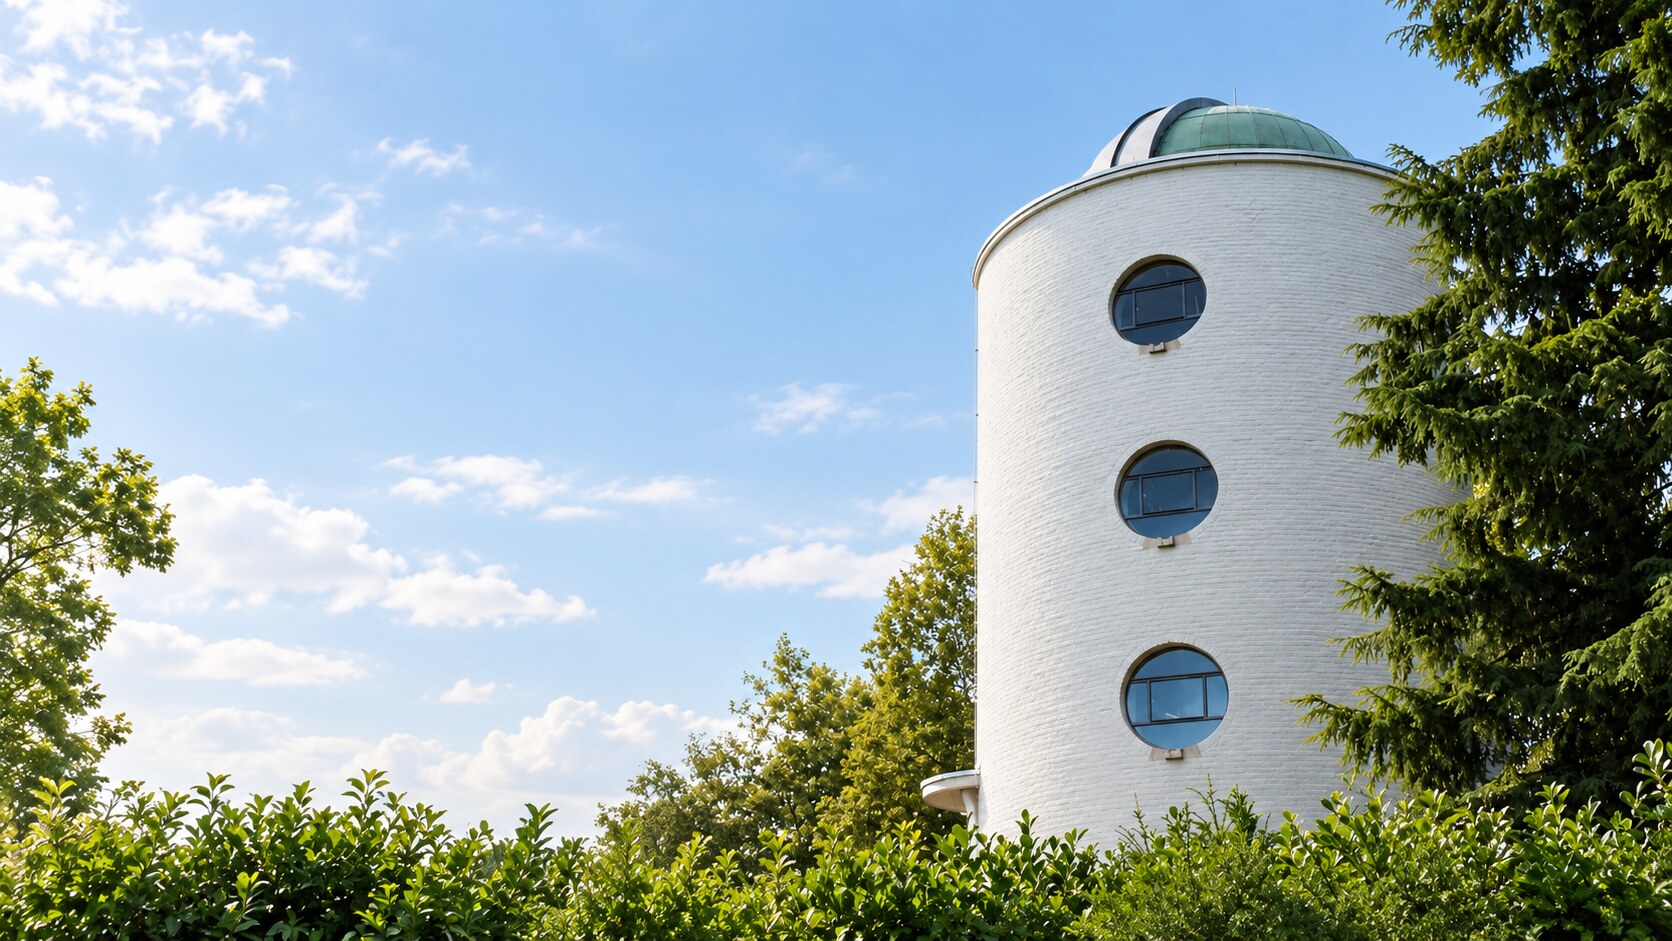
An observatory in the middle of the City of Light
The location alone makes the story special. The local astronomical society was founded in 1935. Soon after, the wish for an observatory of its own emerged. With support from Anton Philips and the municipality, the building became reality. It was designed by Louis Kalff and has welcomed visitors since 1938.
When the observatory was built, Stadswandelpark still sat on the dark edge of Eindhoven. Today the city has grown around it. Streetlights, buildings and taller trees make observing more challenging, but they also give the place an added meaning: in the middle of the City of Light stands a building dedicated to capturing the faintest light from the universe.
Once you step inside the dome, history feels tangible. The telescope, the mechanics and the visible movement of the installation leave a strong impression on both visitors and photographers.
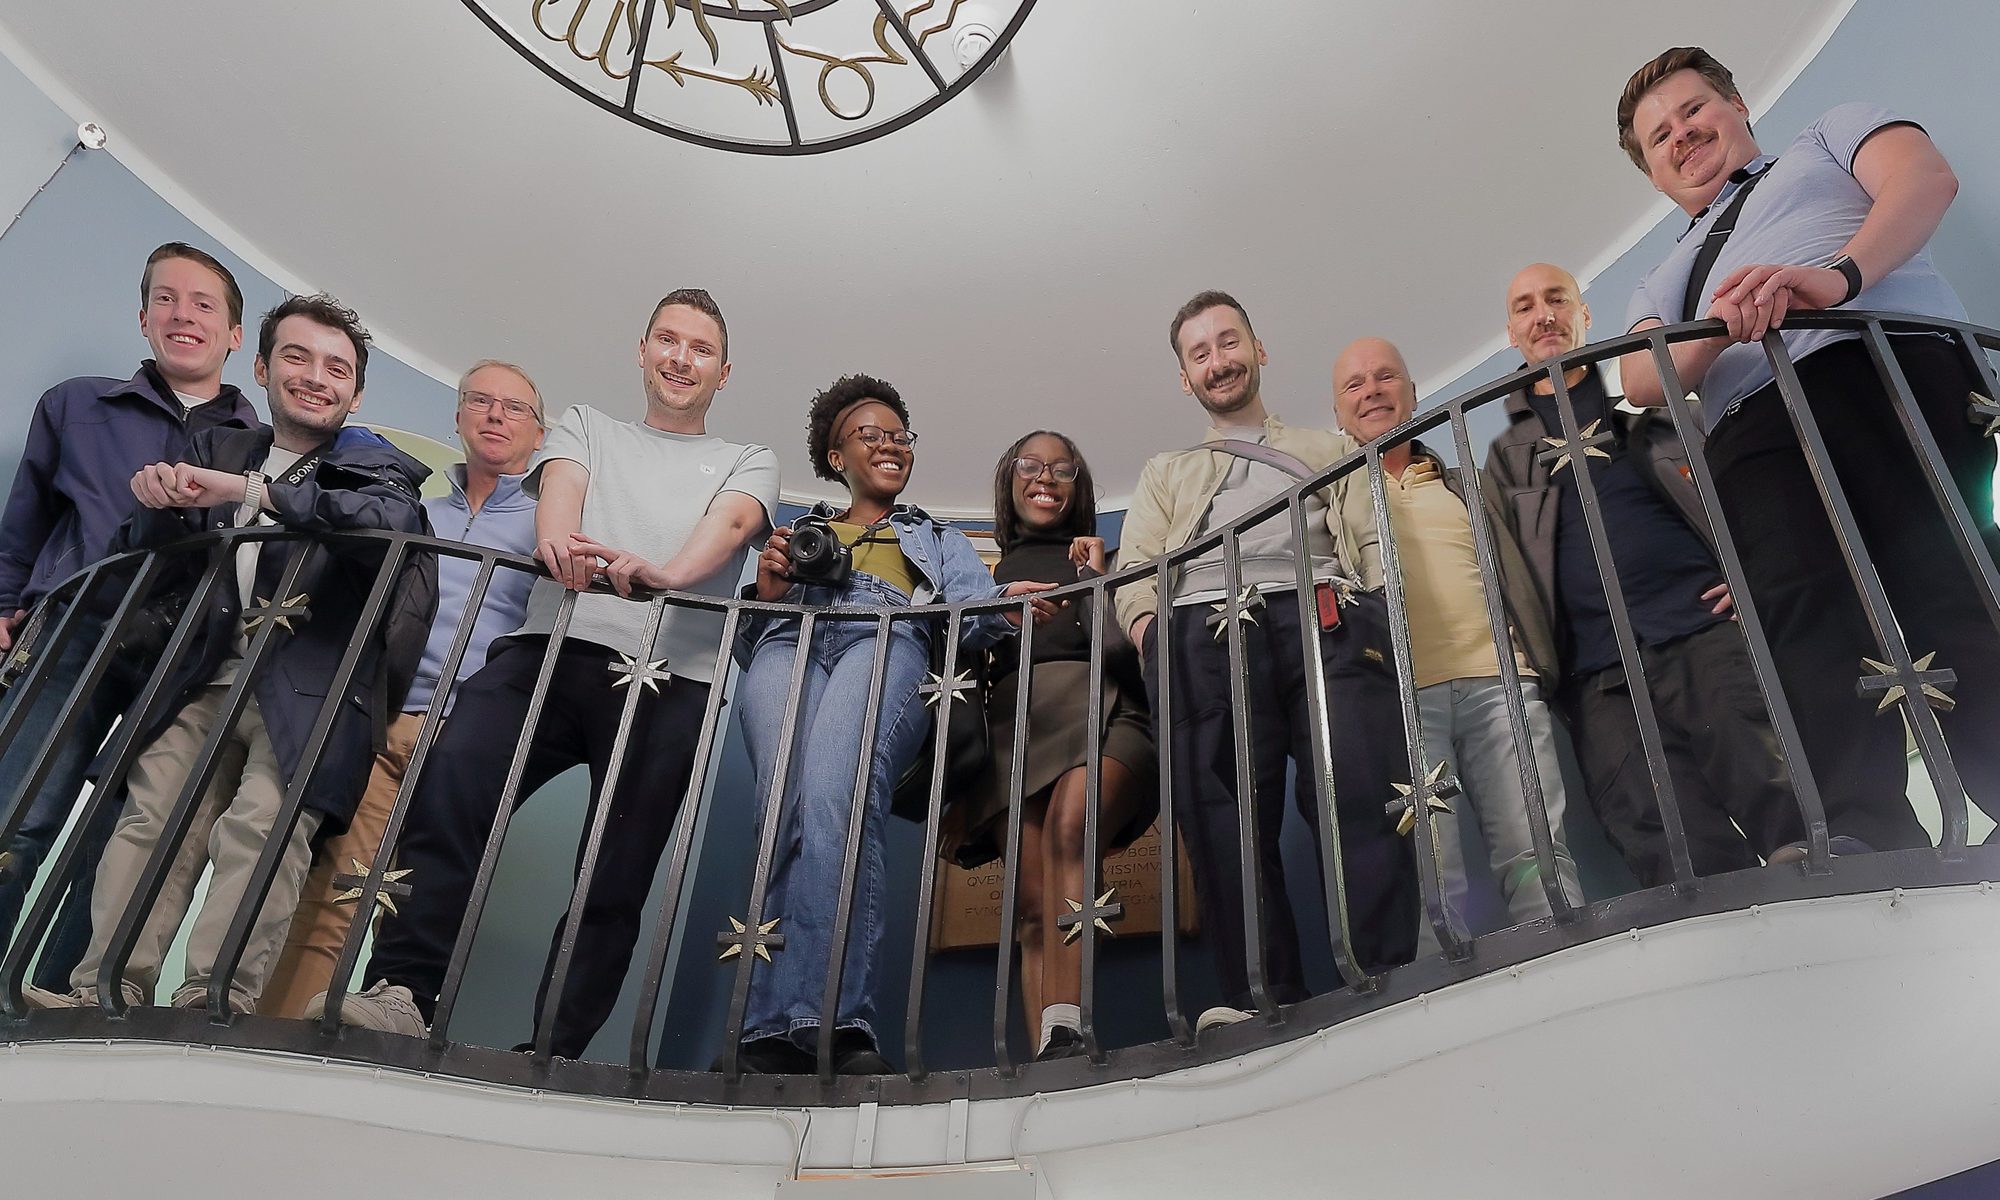
“When you step inside, you can really feel the history of the place.” — Maarten Klomp
Making the invisible visible
What makes astrophotography so appealing is something regular photography rarely shows this clearly: the camera can reveal what your eyes can barely see at all. A nebula or galaxy may appear faint, colourless or almost invisible through a telescope. Let a camera collect light for long enough and structure suddenly appears where there seemed to be nothing.
That also shifts the idea of the decisive moment. Astrophotography is not about one perfect click, but about gradually building enough signal. A moon image can be made in a fraction of a second, while a deep-sky image may contain many hours of data.
That tension between technology, wonder and patience is what makes astrophotography so captivating for many photographers.
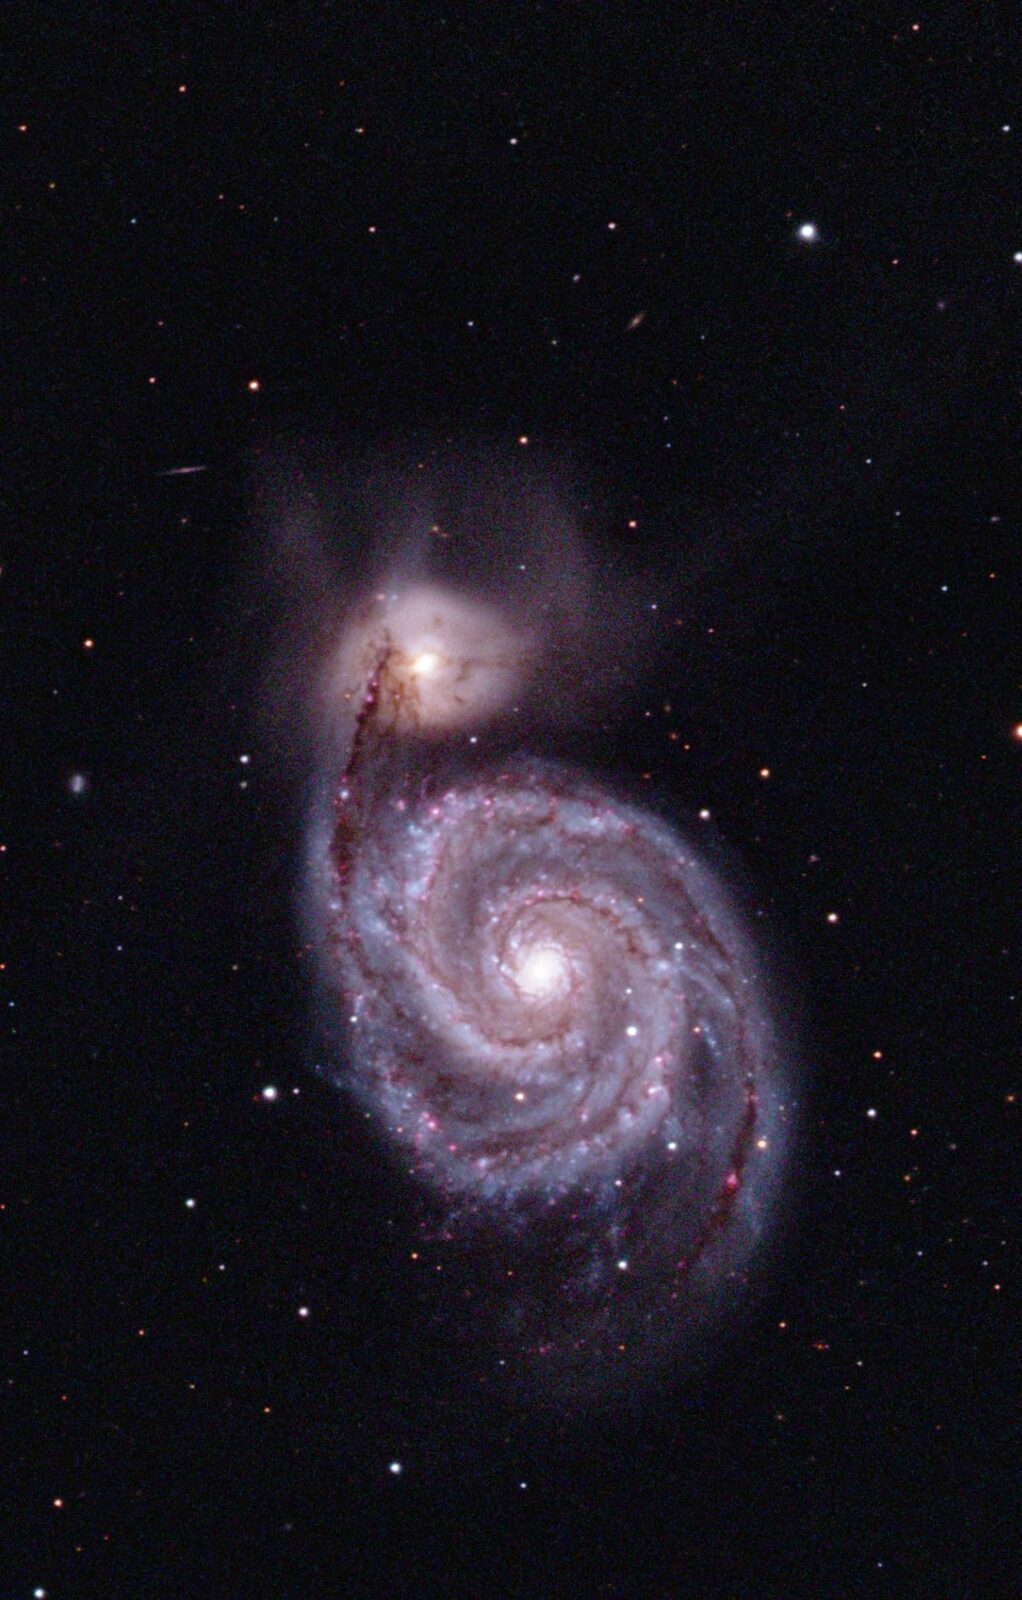
“There is so much you simply cannot see with your own eyes. Photography suddenly reveals all of it.” — Eugène de Goeij
The historic Newton telescope at the heart of the observatory
At the centre of Sterrenwacht Eindhoven stands the historic Newton telescope. It is about 3.5 metres long and uses a primary mirror with a 40-centimetre diameter. Light hits the main mirror, reflects back to a smaller secondary mirror and then reaches the eyepiece or camera.
Photographers will recognise familiar concepts here. The aperture determines how much light you collect. The relationship between focal length and aperture strongly influences how fast a system gathers light. For faint nebulae and galaxies that can translate directly into hours of exposure time.
The telescope is therefore not just a historical object, but also a brilliant teaching tool for anyone interested in photography, optics and mechanics.

“It works on the same principle as smaller Newton telescopes, only on a very impressive scale.” — Maarten Klomp
From mirrorless cameras to cooled astro cameras
If you want to start with astrophotography, you do not need a fully specialised setup right away. A regular DSLR or mirrorless camera can already be connected to a telescope with the right adapter. Even photographing through an eyepiece with a smartphone can be a first step.
As subjects become fainter and exposures longer, the benefits of dedicated astro cameras become clearer. Cooling is important in deep-sky imaging because a warm sensor introduces more noise. The choice between colour and monochrome also changes the workflow: colour is efficient, monochrome with filters offers more control.
Moon and planet photography again ask for a different approach. There, you shoot many short frames instead of long exposures, and software then combines the sharpest frames into one detailed result.
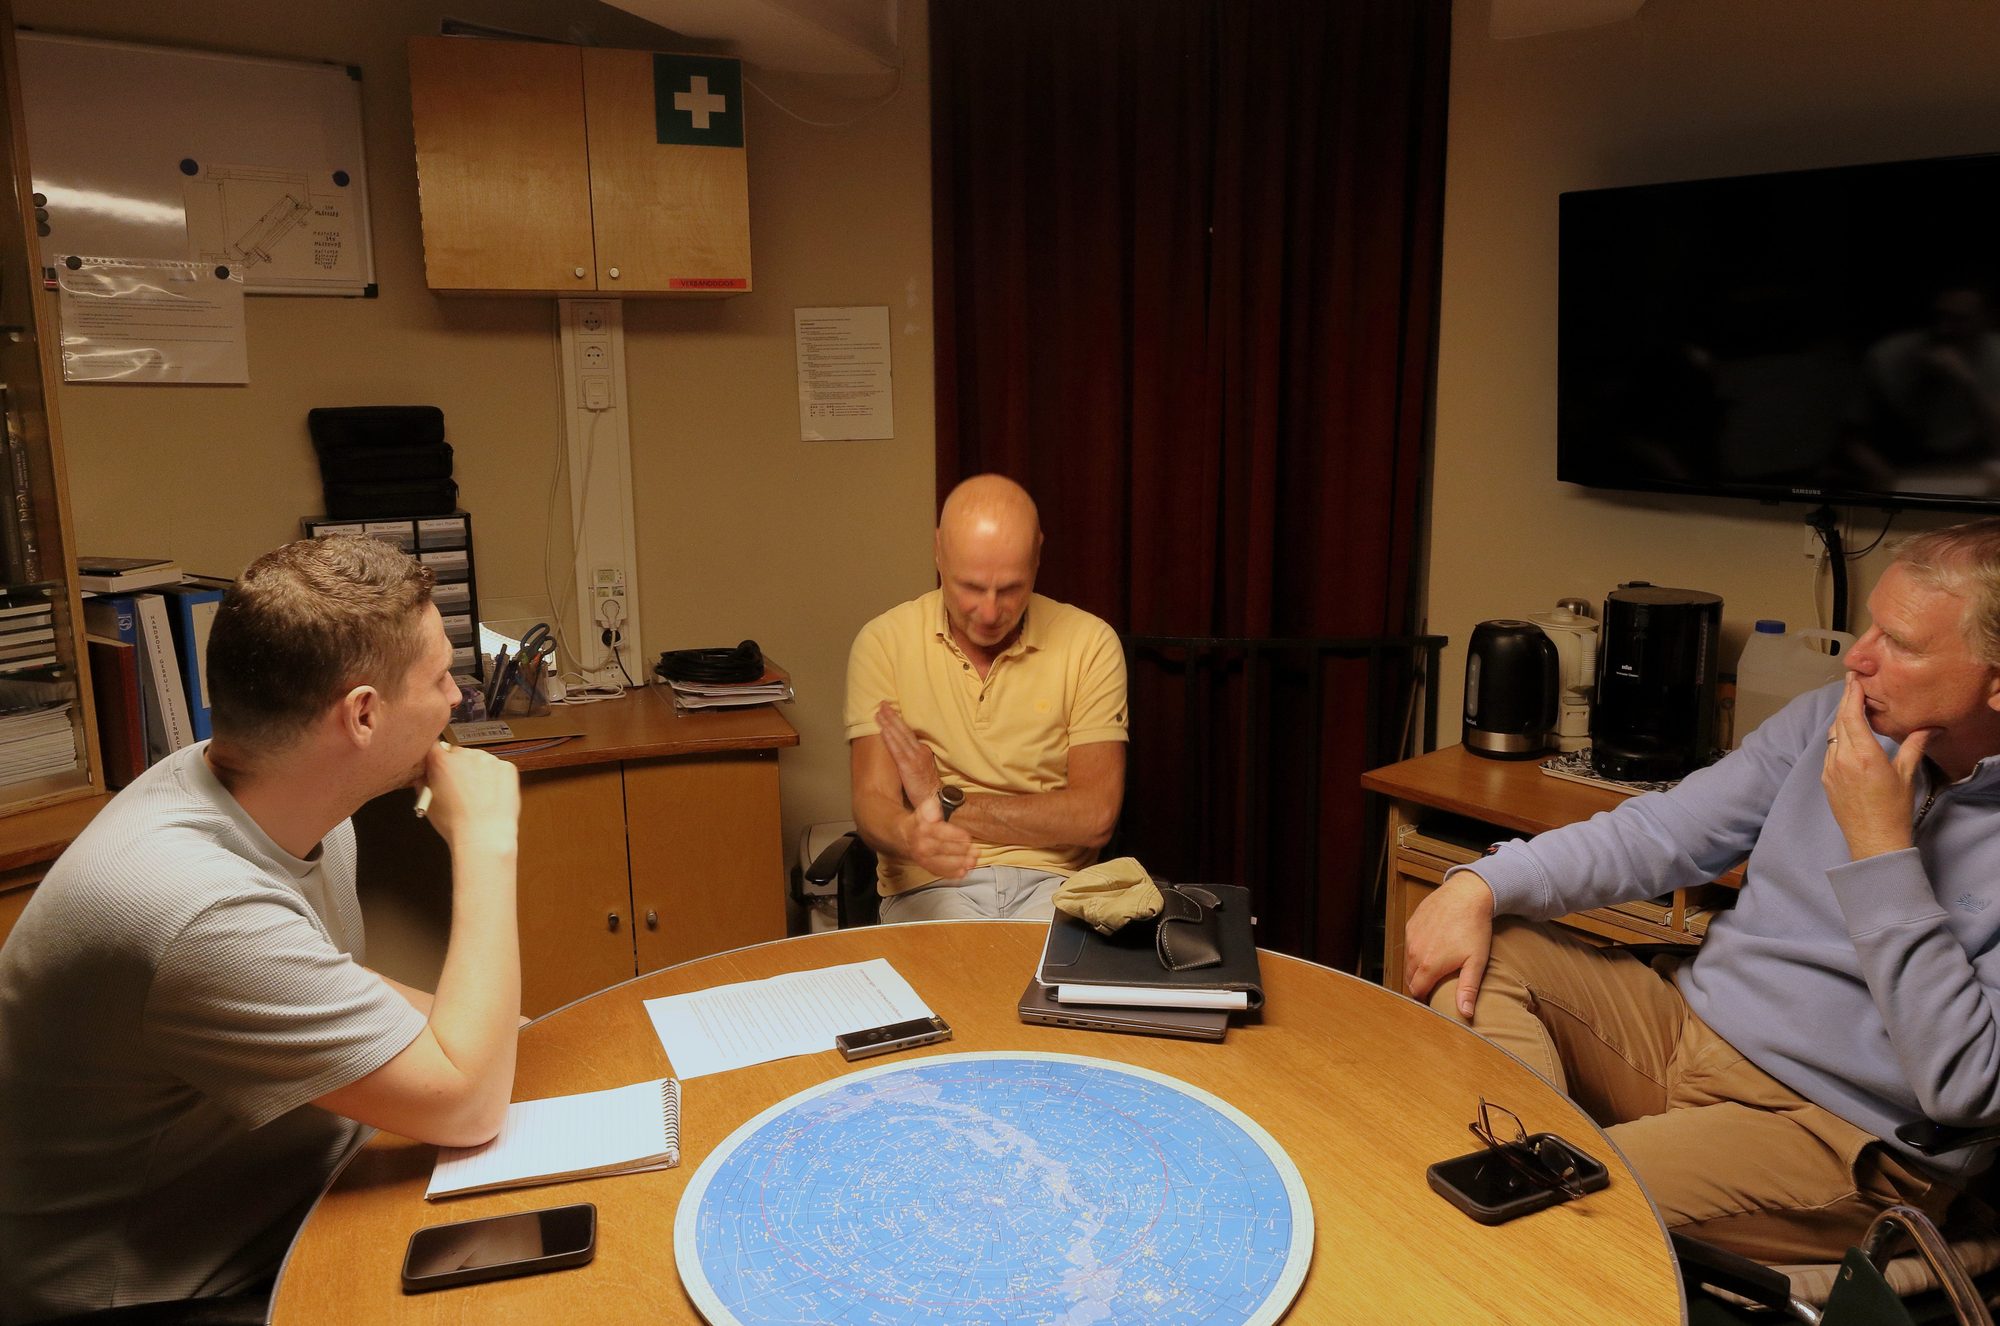
“With planets you almost do the opposite of deep-sky work: many short frames instead of very long exposures.” — Eugène de Goeij
Filters, tracking and the technical side of night-sky photography
Photographing the night sky near Eindhoven automatically means dealing with light pollution. Filters therefore play a crucial role. Narrowband filters pass only specific wavelengths, reducing unwanted city light while preserving the signal from a nebula. For galaxies, Light Pollution Filters can work well to suppress unwanted artificial light.
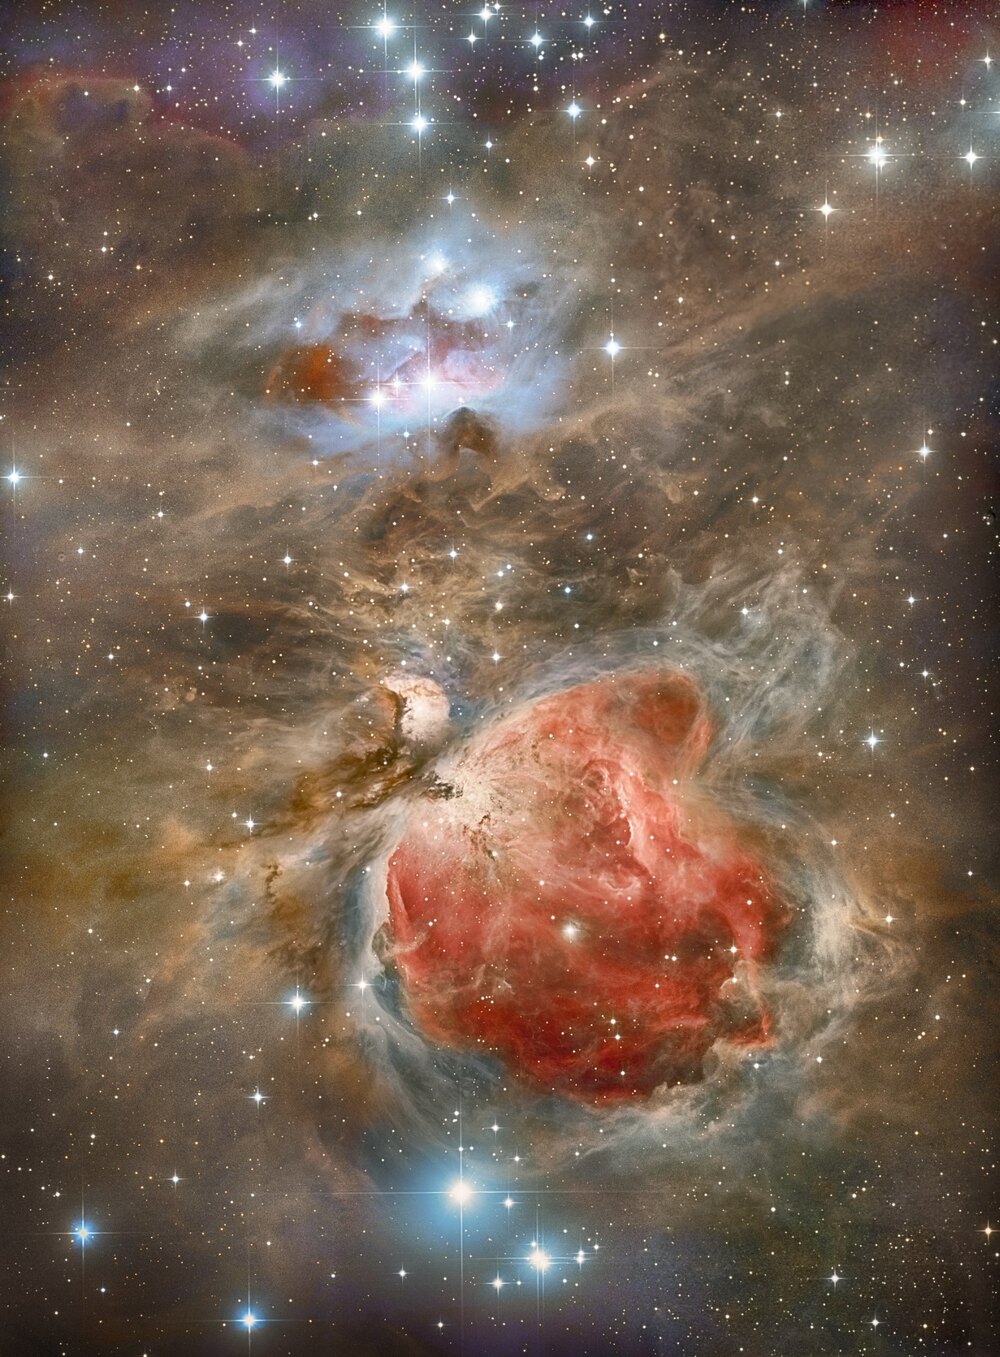
The colours in many deep-sky images are also not simply what the human eye would see. With a monochrome astro camera, each filter first records a grayscale image of a particular emission line, such as hydrogen-alpha (Hα), doubly ionised oxygen (OIII) or sulphur (SII). Only during processing are those separate channels assigned visible colours. A colour camera, often called a One Shot Color (OSC) camera, can also work very well with dual-band filters to bring out nebula colours. Compared with monochrome cameras, the processing options are somewhat more limited, but capture and processing are faster.
That makes colour partly a creative decision. Hα physically lies in the red part of the spectrum, OIII around blue-green and SII is also toward the red end. Yet the finished image does not have to follow those natural colours literally. In the well-known Hubble or SHO palette, sulphur is mapped to red, hydrogen to green and oxygen to blue. A photographer can also remap the channels — for example hydrogen to blue and sulphur to green — to separate structures more clearly or build a recognisable personal style. In that sense the final colour image is not simply the “true colour” of the nebula, but a visual translation of measured light.
Accurate tracking is just as important. During long exposures, the Earth keeps rotating. A mount compensates for that movement, often supported by a guide camera that sends small corrections. At that level everything matters: a slight polar alignment error, wind or vibrations can all show up in the final image.
After the capture comes a second world: stacking, calibration and editing. That is how more useful signal is extracted and how details hidden in a single frame become visible. This is also where a personal signature emerges: two astrophotographers can process the same data into noticeably different images.
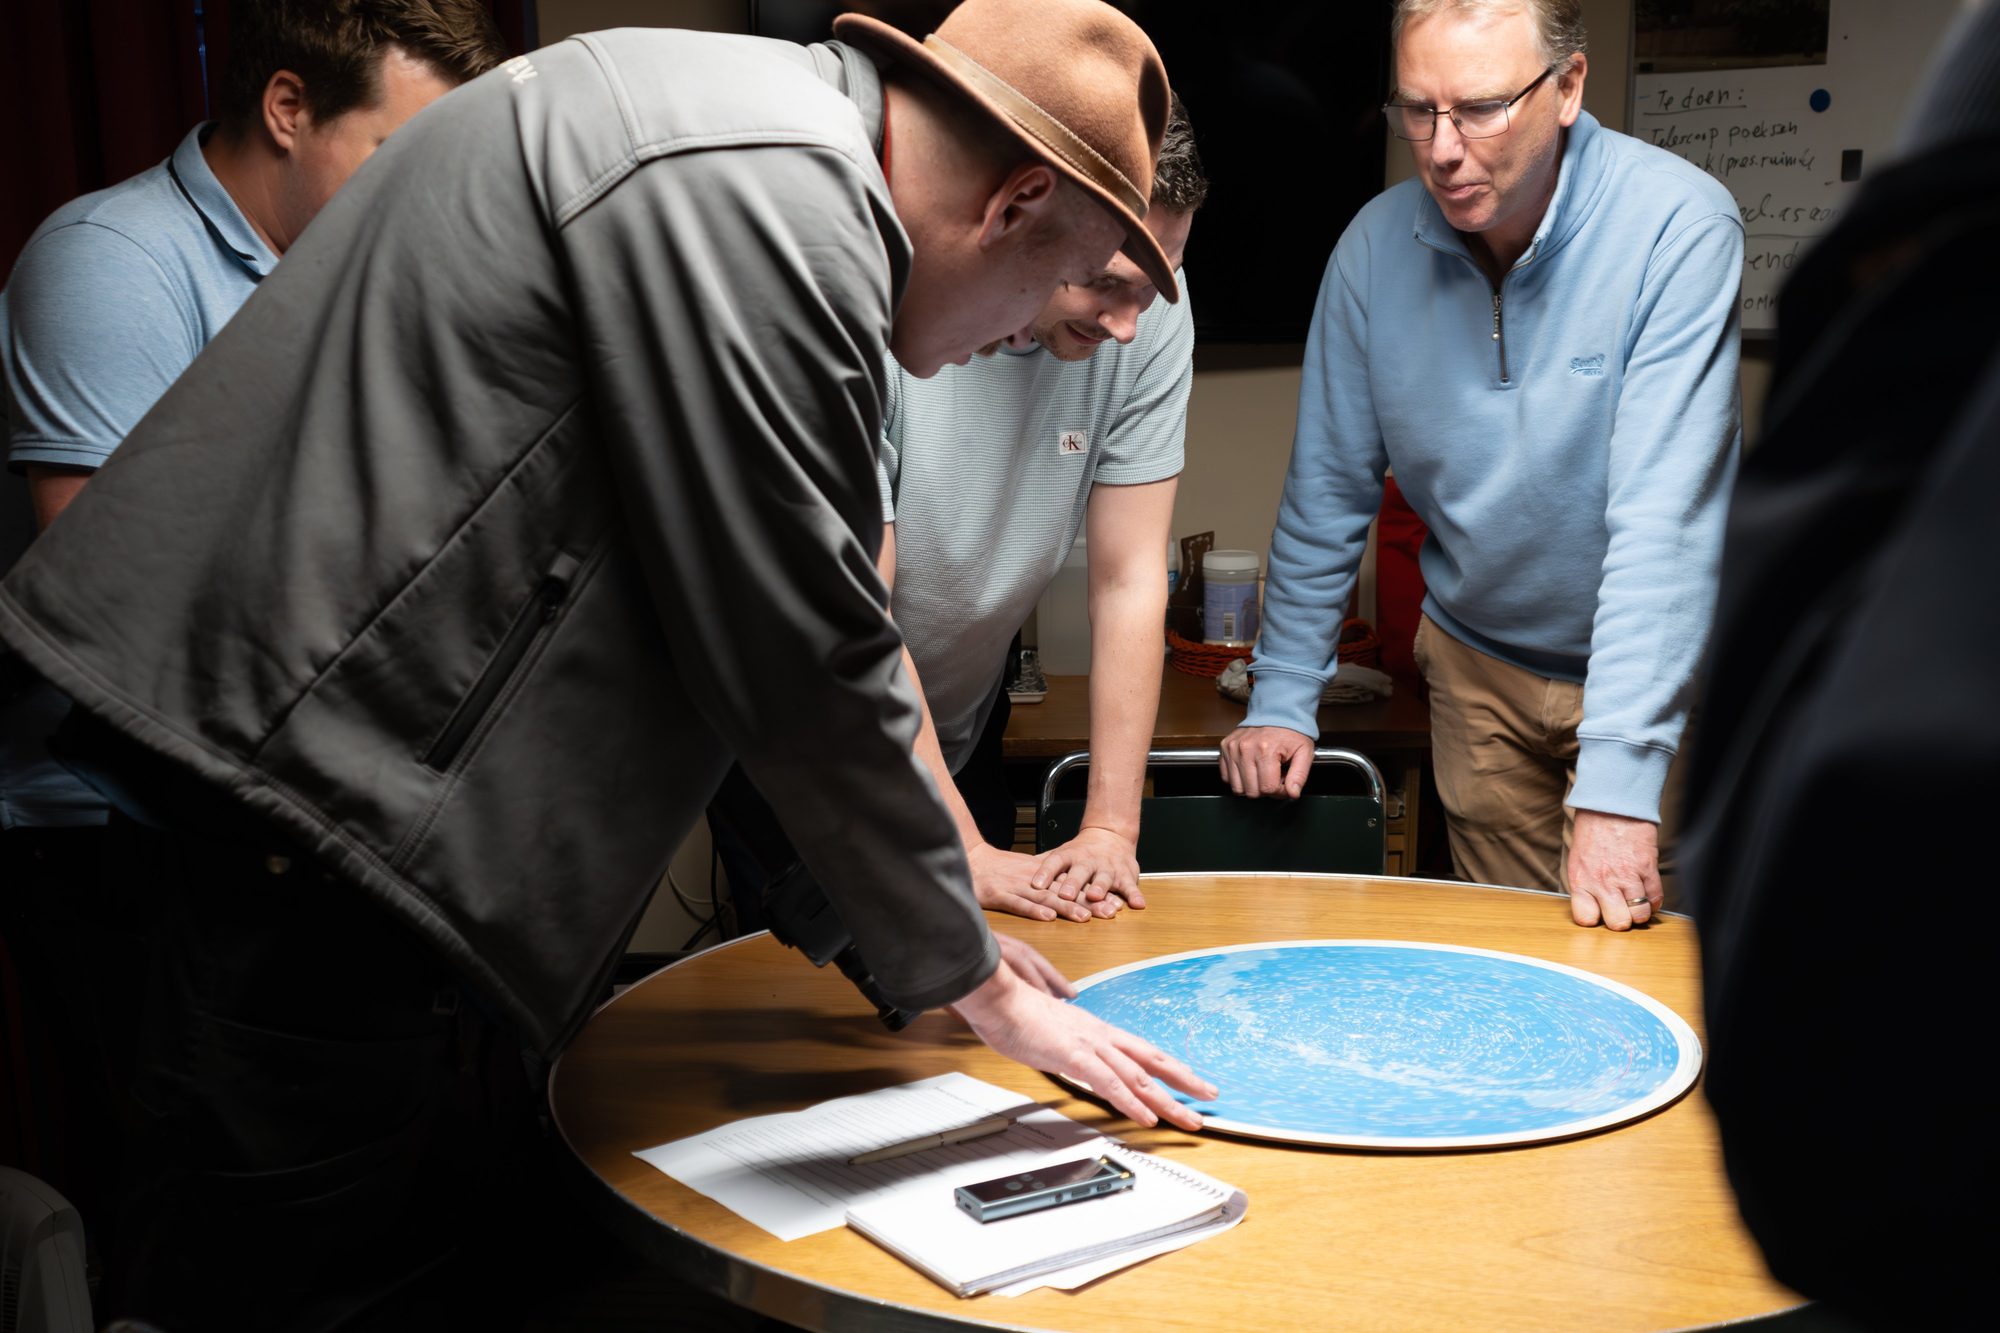
“Expose, expose, expose. The more data you have, the more detail you can pull out.” — Eugène de Goeij
“All the colours you see in these images are, to some extent, also a human interpretation.” — Maarten Klomp
What can you photograph from Eindhoven?
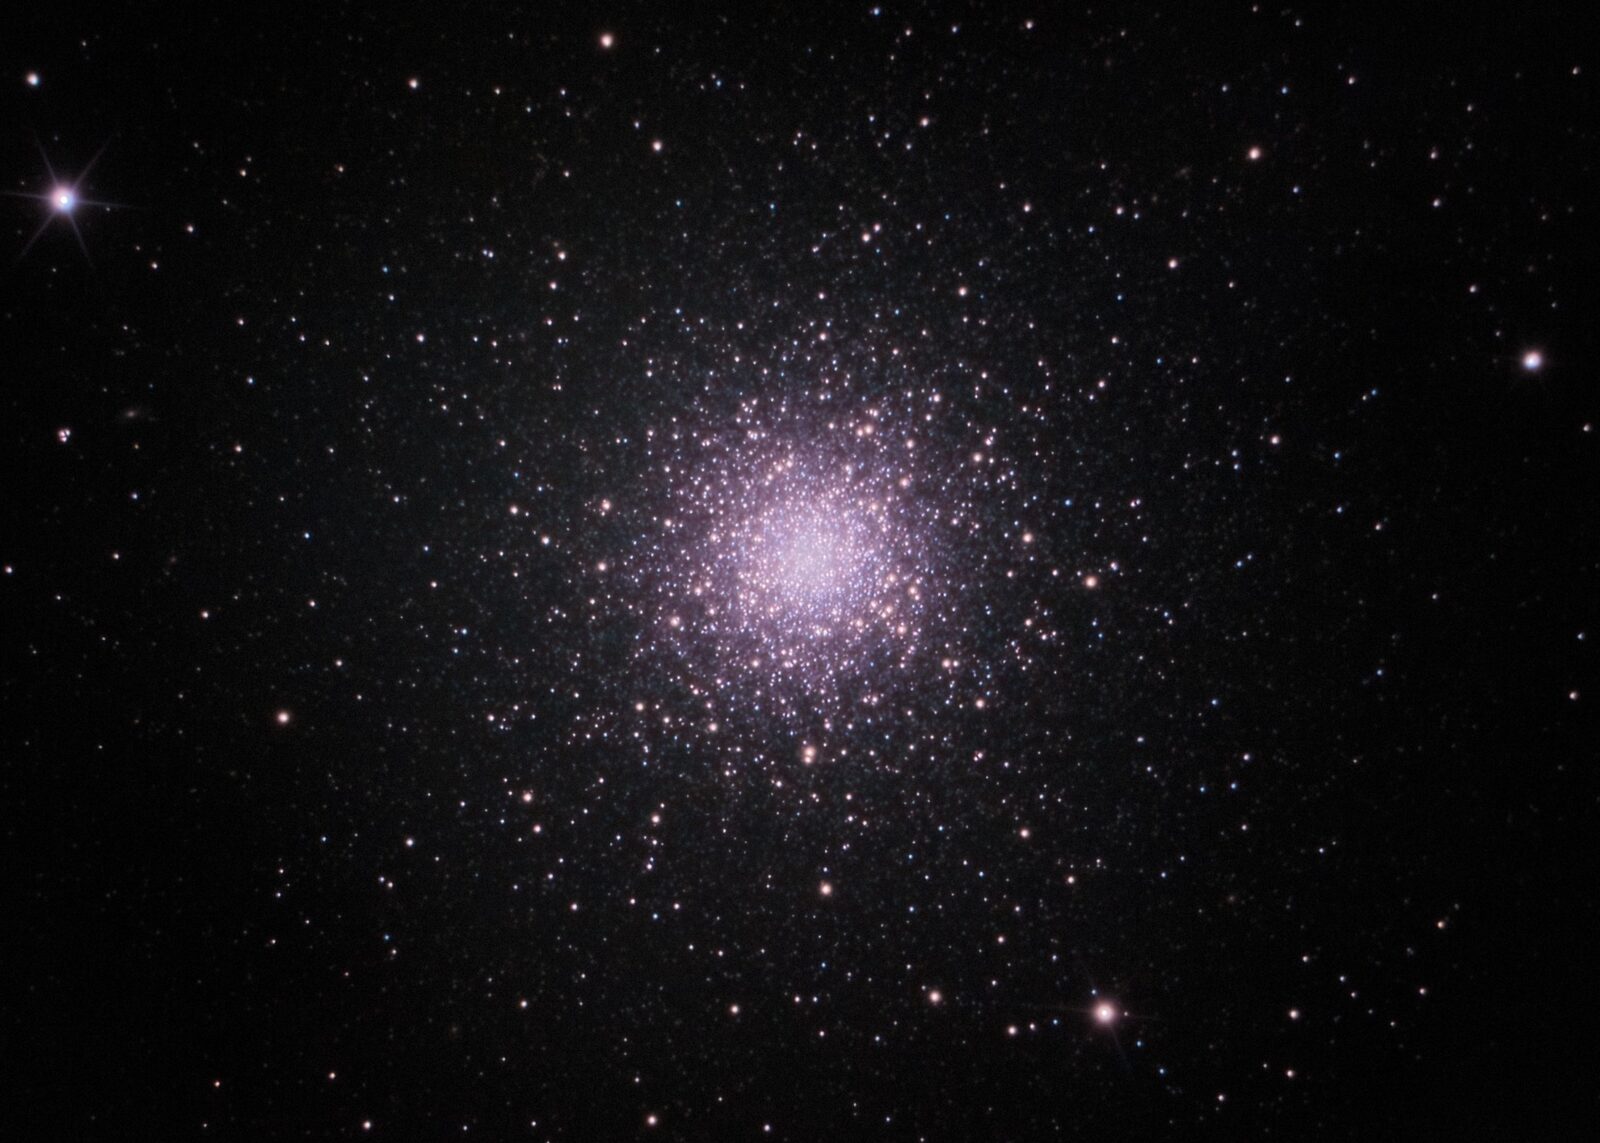
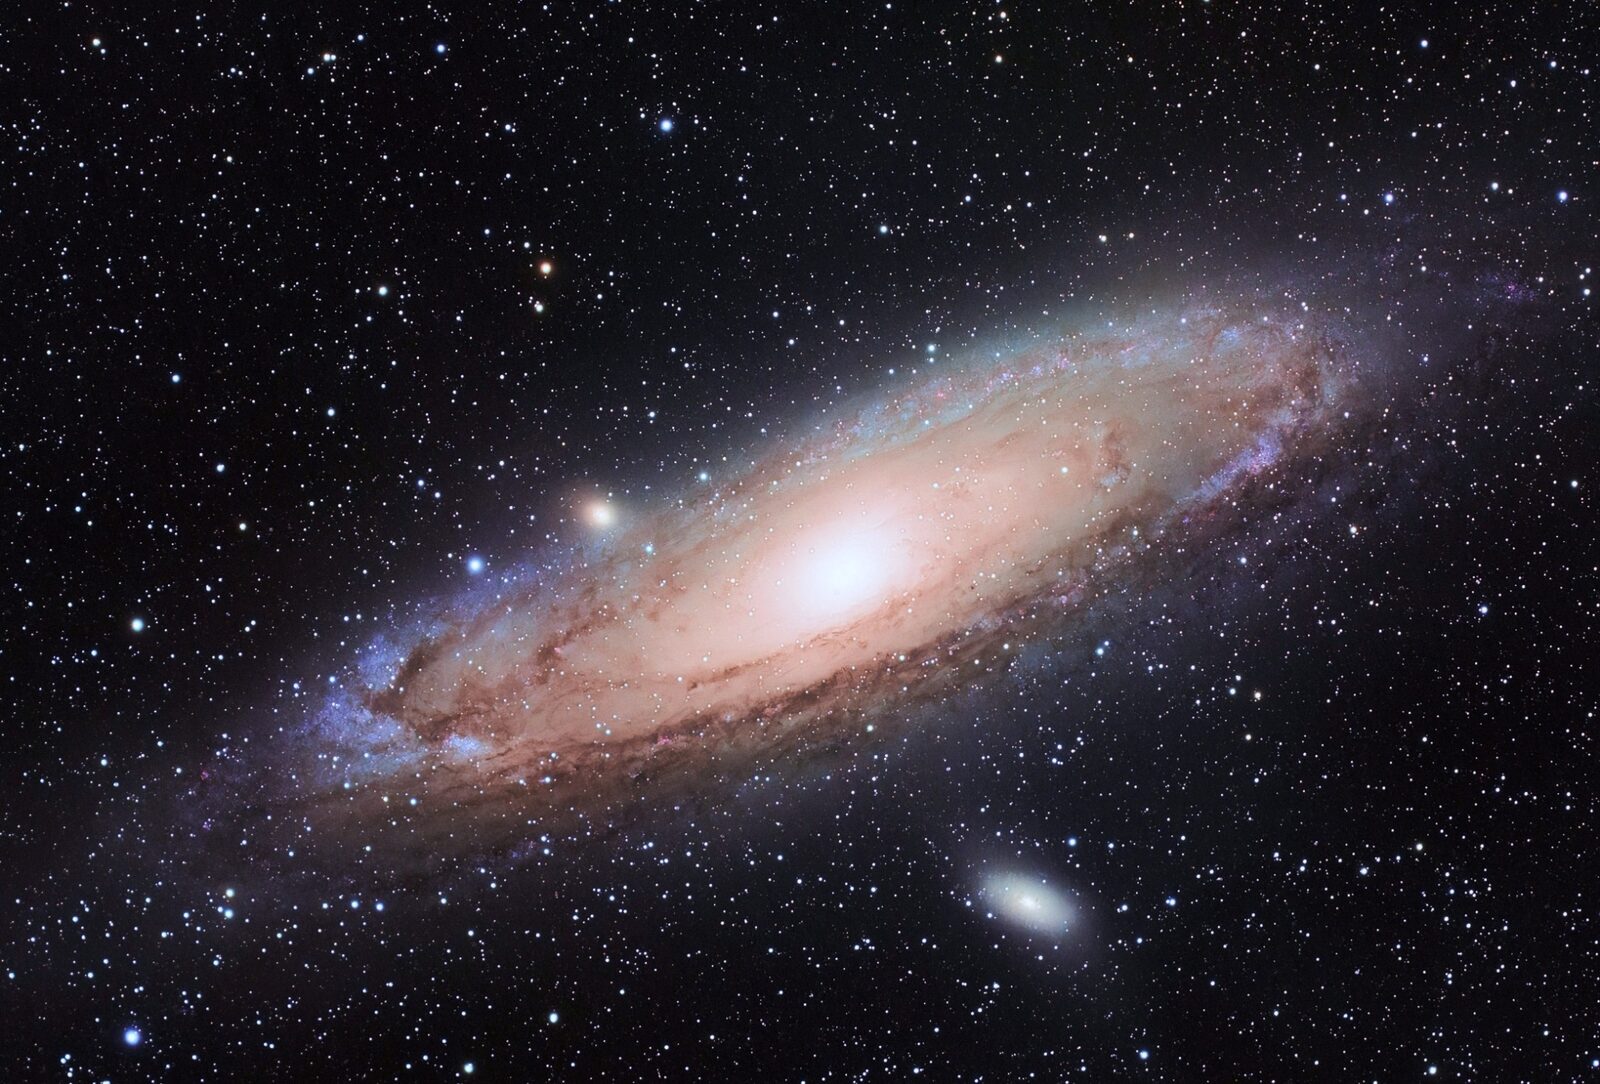
The moon and bright planets are obvious first subjects. But objects such as the Orion Nebula, the Andromeda Galaxy and globular clusters can also be photographed from the Eindhoven region, as long as you adapt your technique to the conditions.
Rob Burgers’ images show just how much lunar detail can be captured from Eindhoven. He made these images from Eindhoven with a self-built Kutter telescope with a focal length of 4 metres. The three examples below show Rima Hyginus, the crater Copernicus and the southern lunar region around Clavius.
Dutch weather remains a major factor. Clear nights are limited, and even on clear nights humidity, transparency, moonlight and atmospheric turbulence all matter. That is why many astrophotographers think carefully about workflow: do you want to gather as much data as possible in one clear night, or do you prefer more control and spread a project across multiple nights?
At the far end of the spectrum lie extremely faint objects. There, a final image may contain dozens of hours of data. Astrophotography then moves closer to measuring and discovering, without losing the joy of photography.
The Moon from Eindhoven — Rob Burgers
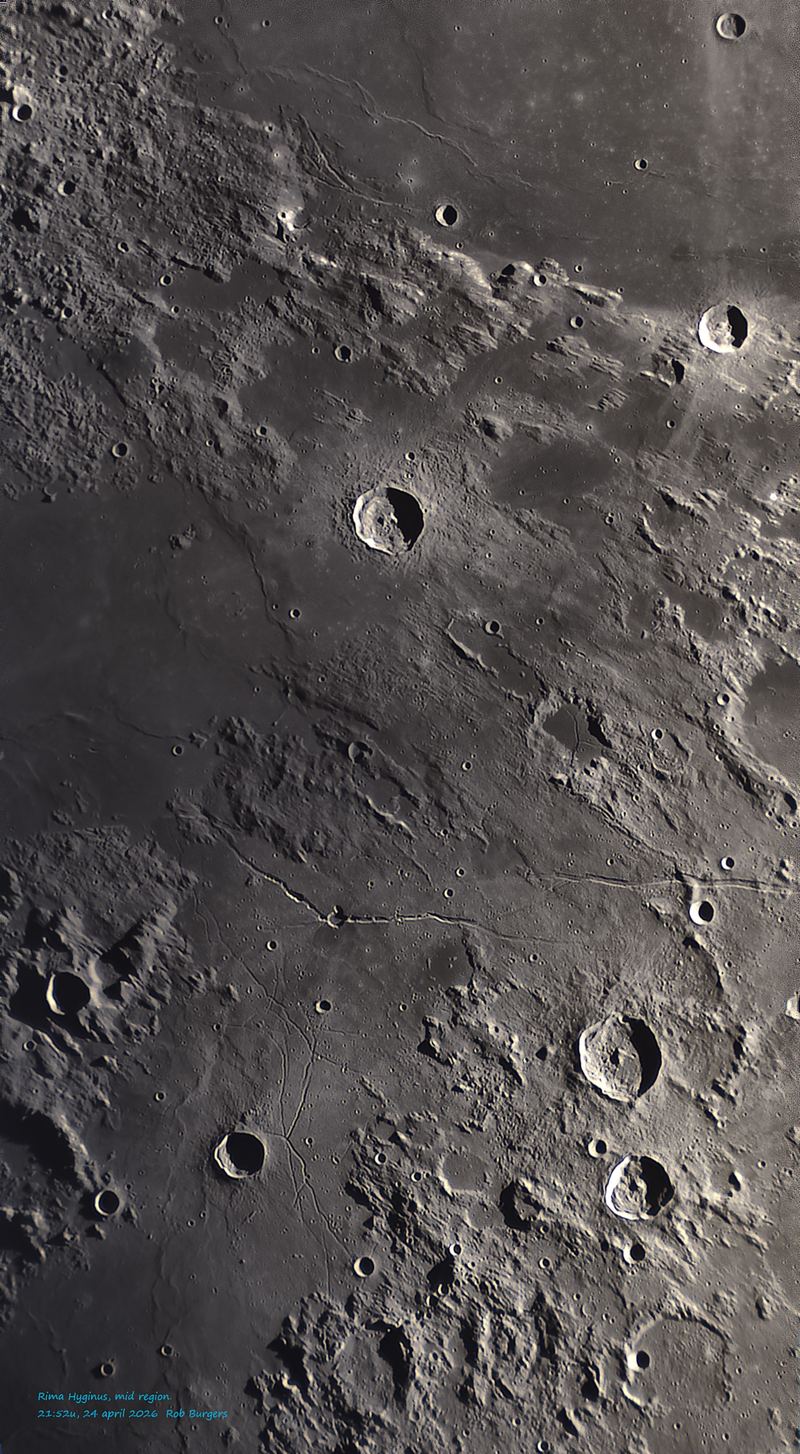
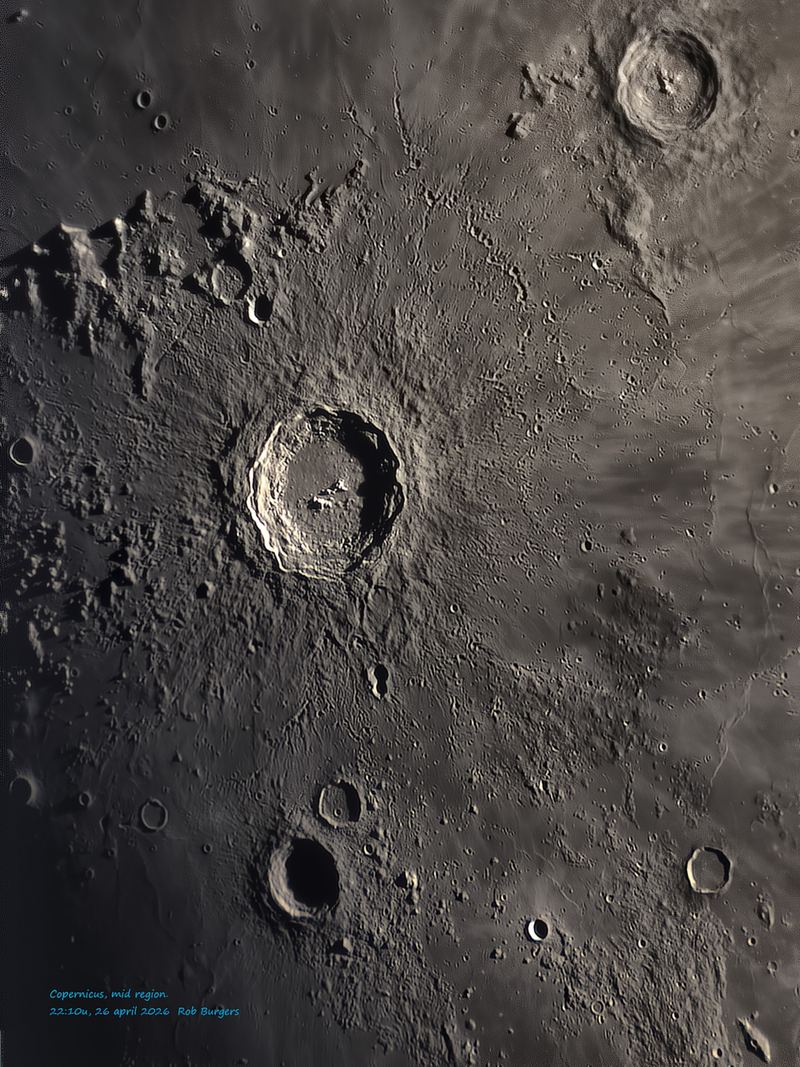
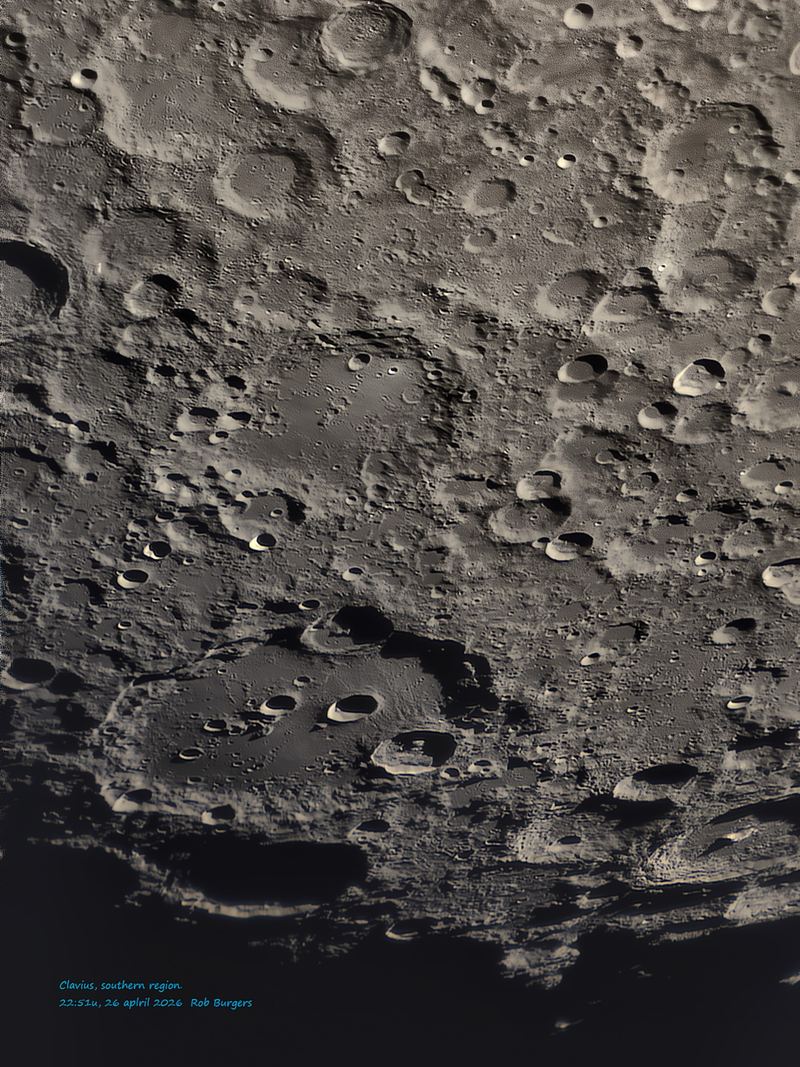
Photos: Rob Burgers. Captured from Eindhoven with a self-built Kutter telescope with a 4-metre focal length. Supplied by Sterrenwacht Eindhoven for non-commercial publication.
“Start with the moon, because you get results right away.” — Eugène de Goeij
Sharing knowledge under the same dome
Perhaps that is ultimately the most valuable part of the evening. Within the observatory and the astronomical society, experienced and beginner members share not only photographs, but also settings, mistakes, solutions and choices. That makes the first steps into astrophotography far more accessible.
That way of learning also fits Eindhoven Creative Community remarkably well. Photography grows faster when creators not only show finished images, but also explain how those images came to life. Astrophotography makes that process especially visible because behind one striking image lies an entire chain of knowledge, technology and patience.
What remains after an evening at Sterrenwacht Eindhoven is therefore not only a better understanding of astrophotography, but also a renewed sense of what becomes possible when technology and creativity reinforce one another.
The Dr. A.F. Philips Observatory is used by members of the Eindhovense Weer- en Sterrenkunde Kring (EWSK). The society has guides who host public opening sessions; current dates are listed in the observatory’s website agenda. EWSK membership includes activities such as member evenings, lectures, excursions and the monthly magazine De Sterrenkijker.
“Your first telescope does not have to be your last. First discover what you actually want to photograph.” — Maarten Klomp
Useful links
Would you like to explore further? Below are a few relevant links that came up during or around the Creator Night.
- Sterrenwacht Eindhoven
- Sterrenwacht Eindhoven deep-sky gallery
- AstroBin
- Eindhoven Creative Community
Would you like to explore with other creators more often?
Keep an eye on Eindhoven Creative Community activities or join the community. That way you will be the first to hear about new creator nights, photowalks and shoots.
View the community